
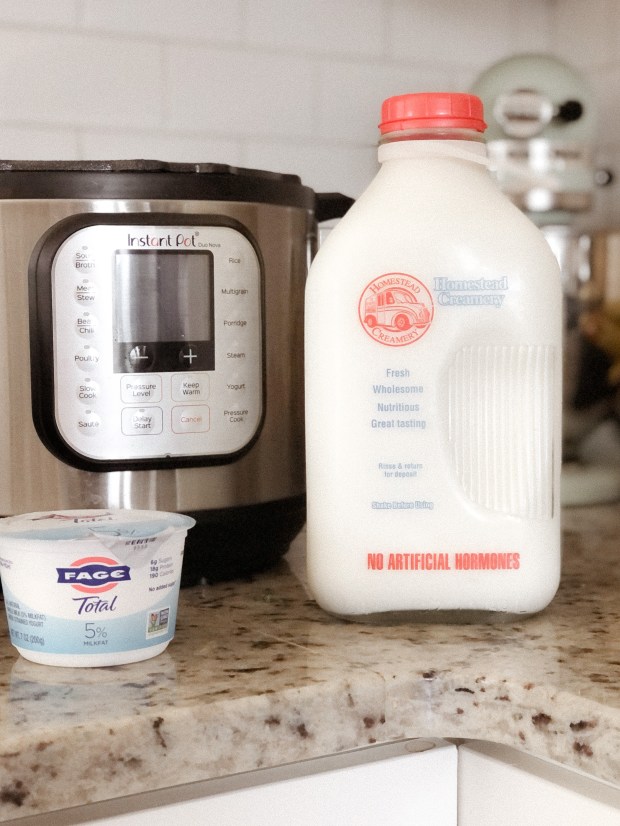
I knew I had to venture into the land of homemade yogurt, when I picked up a tiny glass jar of yogurt for *seven dollars* and saw no other plastic free options in sight. With trepidation and skepticism, I bought a glass jar of milk and a small yogurt cup to use as starter, put it all in the instant pot and set it for eight hours.
After a night cooling in the fridge, we served up some of the creamiest, sweet and not too tangy yogurt we’ve ever had. It was SO good. Through trial and error, the combining of a couple recipes, and one batch that turned out chunky (ew), I came to this fail proof recipe. Give it a try and I promise you, it will be an easy auto-pilot process after three times. I whip it up now either before lunch or around 9pm, set it and forget it for 8.5 hours. It’s inexpensive, easy, low waste, and delicious.
Ingredients
- 1/2 gallon of milk (we use glass bottles of whole milk from Homestead Creamery here in VA)
- 1/4 C plain yogurt with live and active cultures (Fage and Chobani both have a good variety of bacterial strains)
Process
- Clean and Sanitize Instant Pot
Make sure the pot is clean with no crusty bits of chili stuck to the bottom. Pour boiling water from your kettle inside and let it sit for 10 min. (My kettle only fills the pot up 1/2 way so I kind of swirl/tip it for a min to let the water reach up the sides. Over your sink, *carefully* pour a second kettle-full of boiling water on the inside of the lid. - Boil Milk + Let Sit 10 min
Put the milk inside your inner pot, secure the lid and press the yogurt button until the screen reads BOIL. This will heat the milk to 180 and kill any nasty bacteria you don’t want brewing. The first time you do this, you may want to use a clean thermometer to check that it actually heated to 180. Let it sit for ten min with the lid on (thicker yogurt this way). - Cool Milk to 115 F
You can let the inner pot sit uncovered for an hour on the counter OR put the inner pot in an ice bath or freezer for 10-15 min. Whatever process you use, stirring and a thermometer are essential.
I use the freezer – after ten minutes, I take out the inner pot. Put the thermometer + a clean spoon in and stir rapidly to bring the cold metal pot and the warm milk to the same temperature. At this point, it usually reads 130 and I put it back in for 3 min increments until 115.
*If you just put the thermometer in without stirring and it says 115, the cold pot will eventually cause the milk temp to drop too low and give you runny yogurt.
*set your spoon and thermometer in a clean glass between use so it doesn’t pick up bacteria from the counter.
*if a film develops on the top, skim it off - Add Starter Yogurt
In a glass, whisk together about a cup of the 115F milk with 1/4C yogurt until smooth. I just use a fork to stir. Pour it all into the inner pot, give it a good whisk and pop the lid on. (I use the silicone seal on the lid, some recipes say it’s not needed. But I haven’t tried without to test if it affects the thickness.) - Set For 8.5 Hours on Normal Heat
There is a “less” setting and a “normal” setting when you push the yogurt button several times. Normal will give you the best results. The longer you leave it in, the tangier it will become. 8.5 is just right for us. - Refrigerate the Inner Pot 6+ Hours
When the timer beeps to signal that your yogurt is done, lift the inner pot out, cover it with a big dinner plate and let it rest in the fridge for at least six hours. After that point, I transfer it into two quart mason jars. Lasts 10-14 days in the fridge. - Enjoy!
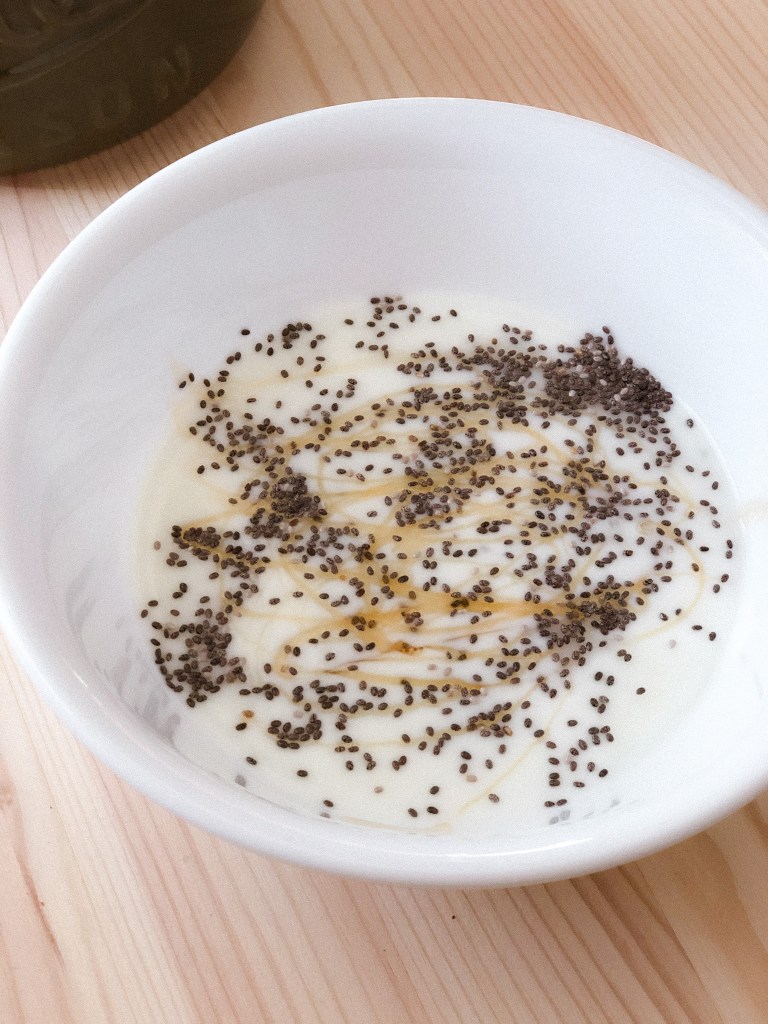
We like to eat our yogurt with honey and chia seeds from the bulk section, bananas, or jam in a glass jar – a few great low waste alternatives to berries in plastic.

1 Comment